End-to-End Engine Horsepower Prediction with Deep Learning Regression Part-IV

Introduction
In the previous articles we explored data pre-processing ,model building and model tracking, in this blog we will explore Model Deployment using Flask.
Flask is a lightweight and popular open-source web application framework written in Python. It is designed to be minimalistic and simple, allowing developers to build web applications quickly and easily. Flask is classified as a microframework,
meaning that it provides the basic tools and features needed for web development but leaves the flexibility to add additional libraries and components as needed.
Key features and characteristics of Flask:
- Minimalistic
- Routing
- Lightweight and Extensible
- Built-in Development Server
- RESTful Support
- Active Community and Ecosystem
For the deployment of the model, we need to implement the following files :
- Pickle file of the model.
- Application file(flask).
- Templets(Frond end ).
Pickle file of the model:
First, we need to import the pickle library in the model, and
dump the model in it and load the model.
import pickle
pickle.dump(model,open('model.pkl','wb'))
model = pickle.load(open('model.pkl','rb'))
And download the pickle file into the local system and save it as model.pkl.import pickle
Application file(flask):
Develop the flask application in a way that load all the values in the data set according to their data types.
if request.method == 'POST':
MPG = float(request.form['MPG'])
Acceleration = float(request.form.get('Acceleration'))
Displacement = float(request.form.get('Displacement'))
Weight = float(request.form.get('Weight'))
Cylinders =float( request.form('Cylinders'))
Model_Year = int(request.form['Model Year'])
Origin=int(request.form['Origin'])

Preprocess numerical features

MPG_encoded = MPG
Acceleration_encoded = Acceleration
Displacement_encoded = Displacement
Weight_encoded=Weight
Cylinders_encoded=Cylinders
Model_Year_encoded=Model_Year
Origin_encoded=Origin
data = {"MPG": np.array([[MPG_encoded]]),
"Acceleration": np.array([[Acceleration_encoded]]),
"Displacement": np.array([[Displacement_encoded]]),
"Weight": np.array([[Weight_encoded]]),
"Cylinders": np.array([[Cylinders_encoded]]),
"Model_Year": np.array([[Model_Year_encoded]]),
"Origin": np.array([[Origin_encoded]]),
}
Also render the html templets into the application and return the predicted value as follows.
my_prediction = model.predict([[data]])
return my_prediction
Create a HTML file as per your need and save them in templates folder.
Running of flask:
Add the model.pkl, app.py, templates files into one folder and name it as “FLASK”.
Now open command prompt and change the directory to where the flask folder is present.
Run the app.py file in the command prompt using the following command:
python app.py
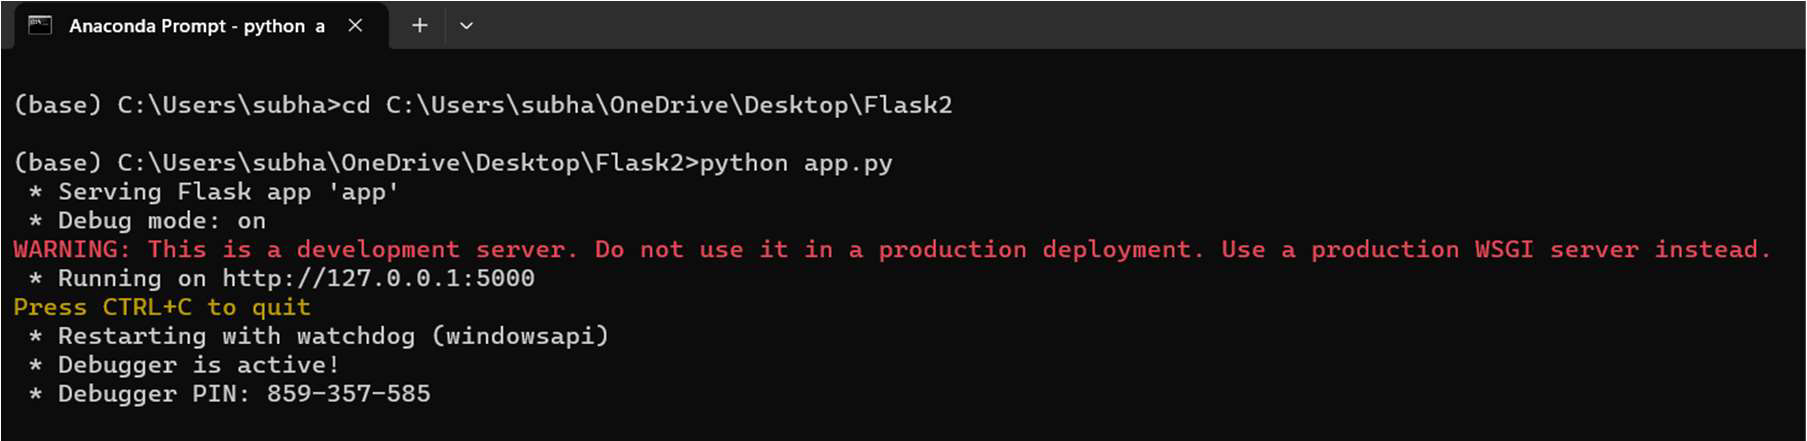
We can see the link below the command , open the link and it
will render to your HTML page
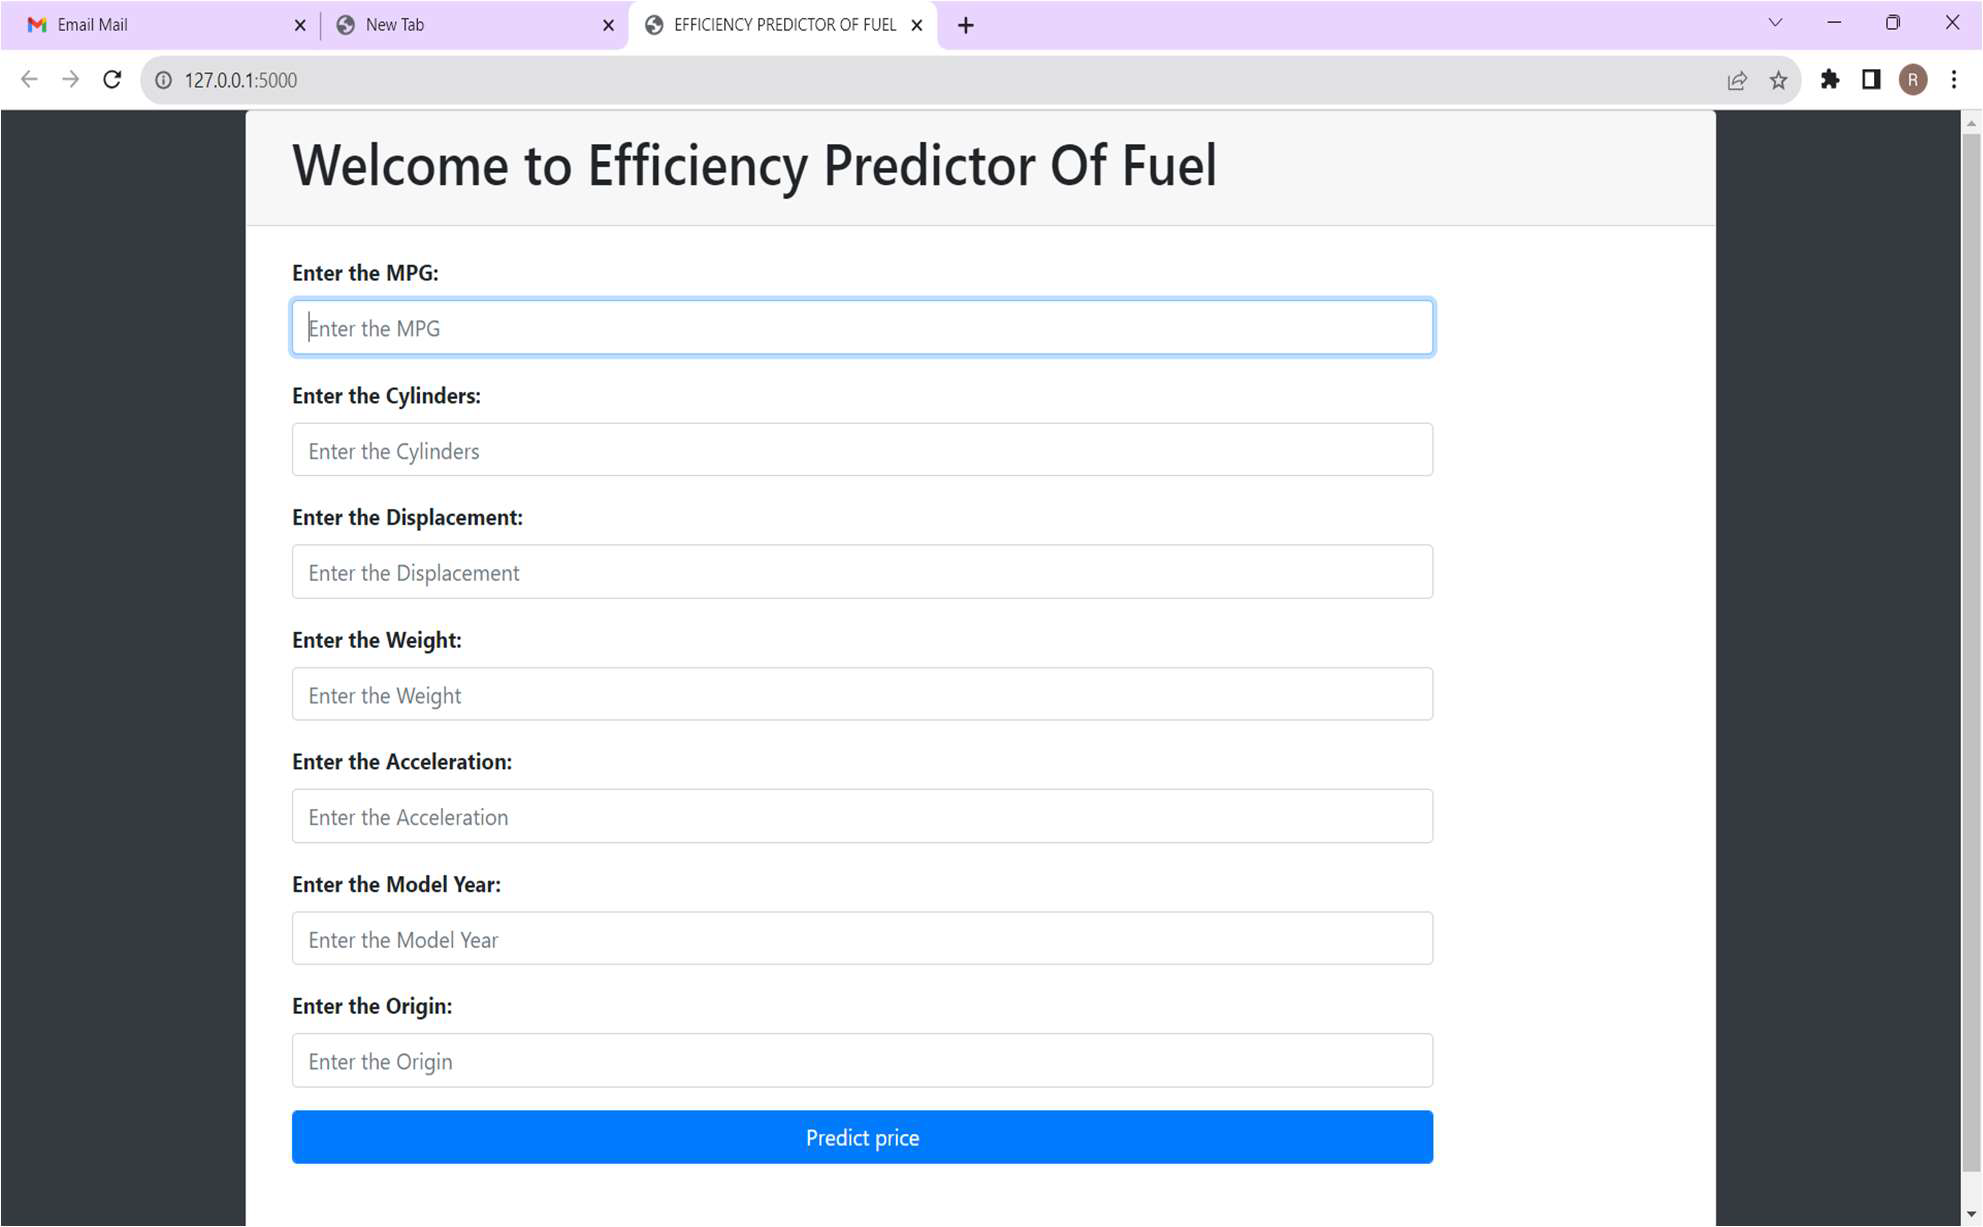
After entering the values we will get the predicted value.
Thank you for reading this series of blogs, I hope you enjoyed reading!!!
References:
https://www.kaggle.com/code/prince381/predicting-the-miles-per-gallon-mpg-of-cars
geeksforgeeks.org/deploy-machine-learning-model-using-flask
By Rayapureddi Subhash